Filing a roof insurance claim in Utah should be straightforward. In practice, it rarely is. Between adjusters who underestimate damage, supplemental claims that drag on for months, and contractors who promise to “handle everything” without actually advocating for you, most Utah homeowners leave money on the table.
This guide walks you through every step of the process — from the moment you discover damage to the final payment — so you know exactly what to expect, what to document, and where the common pitfalls are.
Step 1: Document Everything Immediately
Within 24 hours of a storm, walk your property and photograph everything. Take wide shots of the full roof from multiple angles and close-ups of any visible damage — dented gutters, missing shingles, cracked vents, granules in downspouts. Photograph nearby soft metals (mailbox, AC unit, car) that show hail impacts — these corroborate the storm’s severity.
Save the date, time, and weather conditions. Pull the NWS Salt Lake City storm report for your area — it logs hail size, wind speed, and path. This data is your strongest evidence that a specific weather event caused the damage.
Step 2: Contact Your Insurance Company
Call your insurer’s claims line within 48 hours. You’re not committing to anything — you’re opening a claim number, which preserves your rights. Write down the claim number, the adjuster’s name and direct phone number, and any deadlines they mention.
In Utah, insurers must acknowledge your claim within 15 days and begin investigation within 30 days. If they miss these timelines, the Utah Insurance Department can intervene on your behalf.
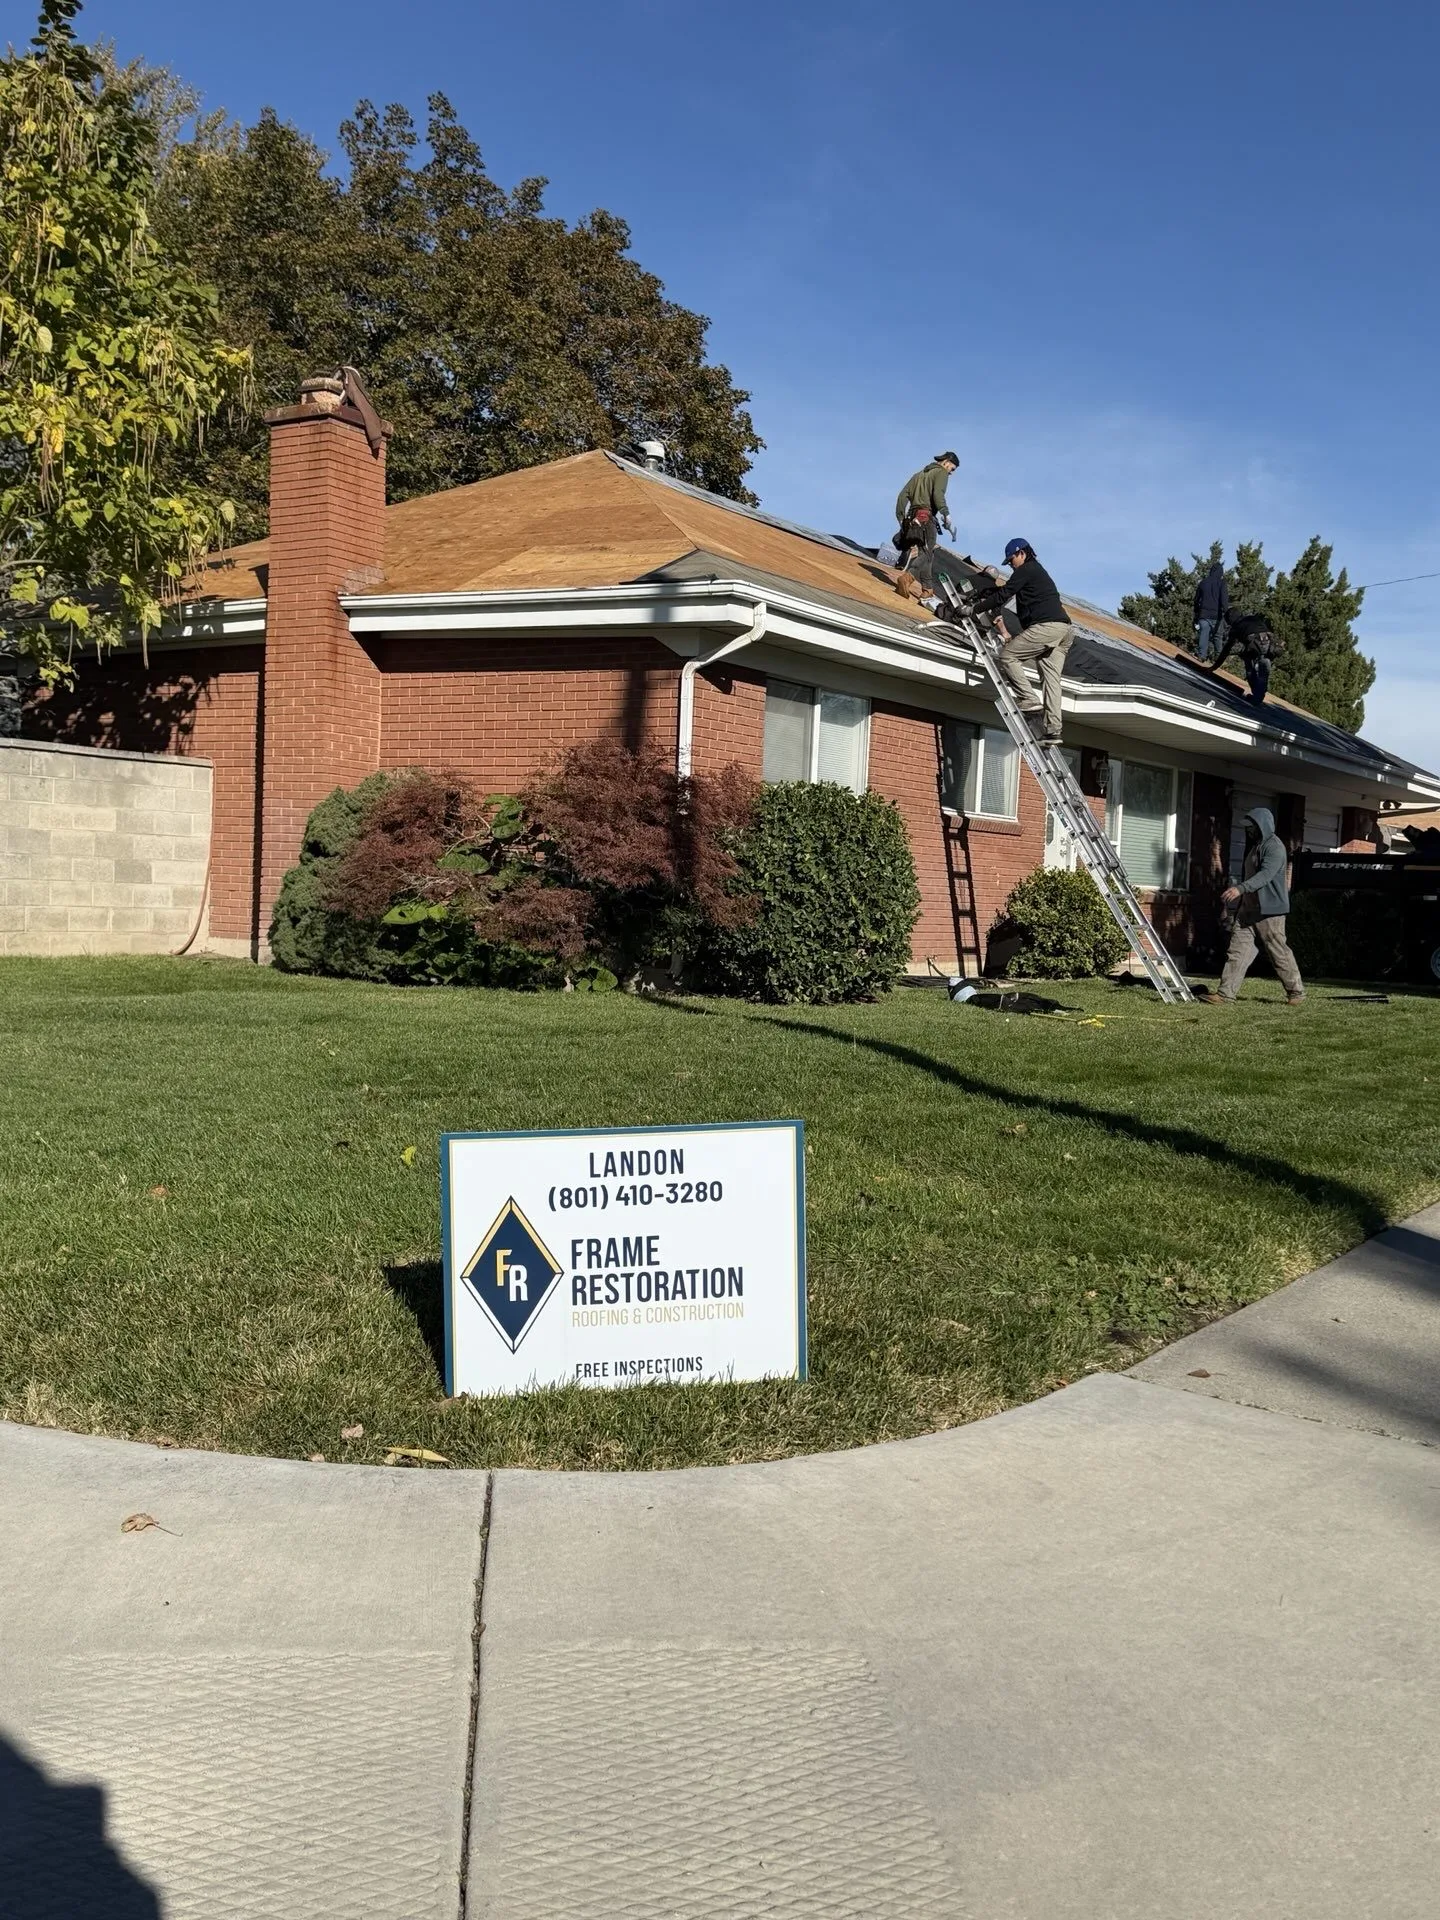
Step 3: Get a Professional Roof Inspection
Before the insurance adjuster visits, have a licensed Utah roofing contractor inspect your roof independently. A qualified contractor will find damage patterns that ground-level adjusters miss — especially on steep-pitch roofs common in mountain communities like Park City, Heber City, and Midway.
Your contractor’s inspection report becomes your baseline. If the adjuster’s estimate comes in lower, you have documented evidence to support a supplemental claim. Frame Roofing Utah provides free storm damage inspections with a detailed photo report for exactly this purpose.
Step 4: Be Present for the Adjuster Visit
When the insurance adjuster inspects your roof, be there — or better yet, have your roofing contractor there with you. Adjusters typically spend 30-60 minutes on the property. Having a knowledgeable contractor present ensures every damaged area is identified and included in the scope.
Common areas adjusters undercount: ridge caps, pipe boot flashing, drip edge, starter strips, and ice & water shield in valleys. In Utah’s mountain communities, adjusters sometimes miss the additional cost of steep-pitch labor and snow country underlayment requirements.
Step 5: Review the Initial Estimate
The adjuster will produce an Xactimate estimate — the industry-standard software for insurance repair pricing. Review every line item with your contractor. Common shortfalls in Utah claims include: missing overhead and profit margins for the contractor, incorrect material grades (standard shingles listed instead of the impact-resistant Class 4 products actually on the roof), and omitted code upgrades required by current IRC standards.
Utah building codes have changed significantly in mountain communities. If your roof was built to older standards, your insurance company is typically required to pay for code-mandated upgrades during replacement. This alone can add thousands to a legitimate claim.
Step 6: File a Supplement If Needed
If the initial estimate doesn’t cover the full scope of damage, your contractor files a supplemental claim with additional documentation — photos of missed damage, line-item justifications, and local code requirements. In Utah, roughly 60-70% of initial storm damage estimates require supplemental adjustments.
A good roofing contractor handles supplement negotiations directly with the insurance company. This is one of the most important things to look for when choosing a contractor — experience with the supplement process directly affects how much of your legitimate claim gets paid.
Step 7: Understand Your Deductible
Your deductible is your out-of-pocket cost before insurance pays. Most Utah homeowners policies carry a $1,000-$2,500 deductible, though some newer policies have percentage-based deductibles (1-2% of the home’s insured value). Any contractor who offers to “cover your deductible” or “waive your deductible” is committing insurance fraud under Utah law — walk away immediately.
Common Mistakes That Cost Utah Homeowners Money
Waiting too long to file: Damage worsens over time. A small leak from storm damage becomes rotted decking, mold, and interior damage within months. File immediately.
Not getting an independent inspection: The adjuster works for the insurance company. Without your own contractor’s documentation, you have no leverage if the estimate is low.
Signing with storm chasers: Out-of-state contractors who appear after storms often submit inflated claims, do substandard work, and disappear before warranty issues surface. Verify any contractor’s Utah DOPL license at dopl.utah.gov before signing anything.
Accepting the first estimate without review: The initial Xactimate estimate is a starting point, not a final answer. Review it line by line with a contractor who knows Utah pricing and code requirements.