A tree crashes through your roof during a windstorm. Hail punches through aging shingles and water is coming in. A sudden leak during a spring rainstorm sends water cascading down your walls. These emergencies happen across Utah every year, and what you do in the first 24-48 hours determines whether the damage stays manageable or becomes catastrophic.
This guide gives you the exact steps to take, in order, when your Utah roof sustains emergency damage.
Step 1: Ensure Safety First
Before anything else, make sure everyone in your home is safe. If ceilings are sagging or bulging from trapped water, stay out of those rooms — a ceiling collapse from water weight can cause serious injury. If you see exposed wiring near water intrusion, turn off power to affected circuits at the breaker panel. If the structural integrity of the home is in question, evacuate and call 911.
Do not climb on a damaged roof under any circumstances. Damaged decking can collapse under your weight, wet surfaces are extremely slippery, and storm conditions may still be active. Leave roof access to professionals with proper safety equipment.
Step 2: Mitigate Interior Damage
Place buckets, trash cans, or any large containers under active leaks. Move furniture, electronics, and valuables away from water. If a ceiling is bulging from trapped water, you can puncture it carefully with a screwdriver at a low point to release the water in a controlled way into a container — this prevents an uncontrolled ceiling collapse.
If flooding is significant, use towels and a wet/dry vacuum to remove standing water. Run fans and a dehumidifier to begin drying. The faster you remove water, the less likely you are to develop mold — which can begin growing within 24-48 hours in Utah’s indoor humidity conditions.
Step 3: Document Everything
Before cleaning up or making any repairs, document all damage with photos and video. Photograph the exterior damage from multiple angles, all interior water damage including stains and affected belongings, any debris or fallen trees, and damage to the surrounding property (gutters, siding, windows). This documentation is critical for your insurance claim.
Write down the date, time, and weather conditions. Pull the NWS Salt Lake City storm report for your area — this provides independent verification of the event that caused the damage.
Step 4: Contact Your Insurance Company
Call your insurer’s claims line as soon as possible — ideally within 24 hours. Opening a claim establishes the timeline and preserves your rights. You do not need to have all information ready — just report the event and damage. The claim number you receive is your reference for everything that follows.
In Utah, you have a duty to mitigate further damage. This means you are expected to take reasonable steps (like tarping) to prevent additional damage. Insurance pays for these mitigation costs in addition to the permanent repair. Failure to mitigate can reduce your claim payout.
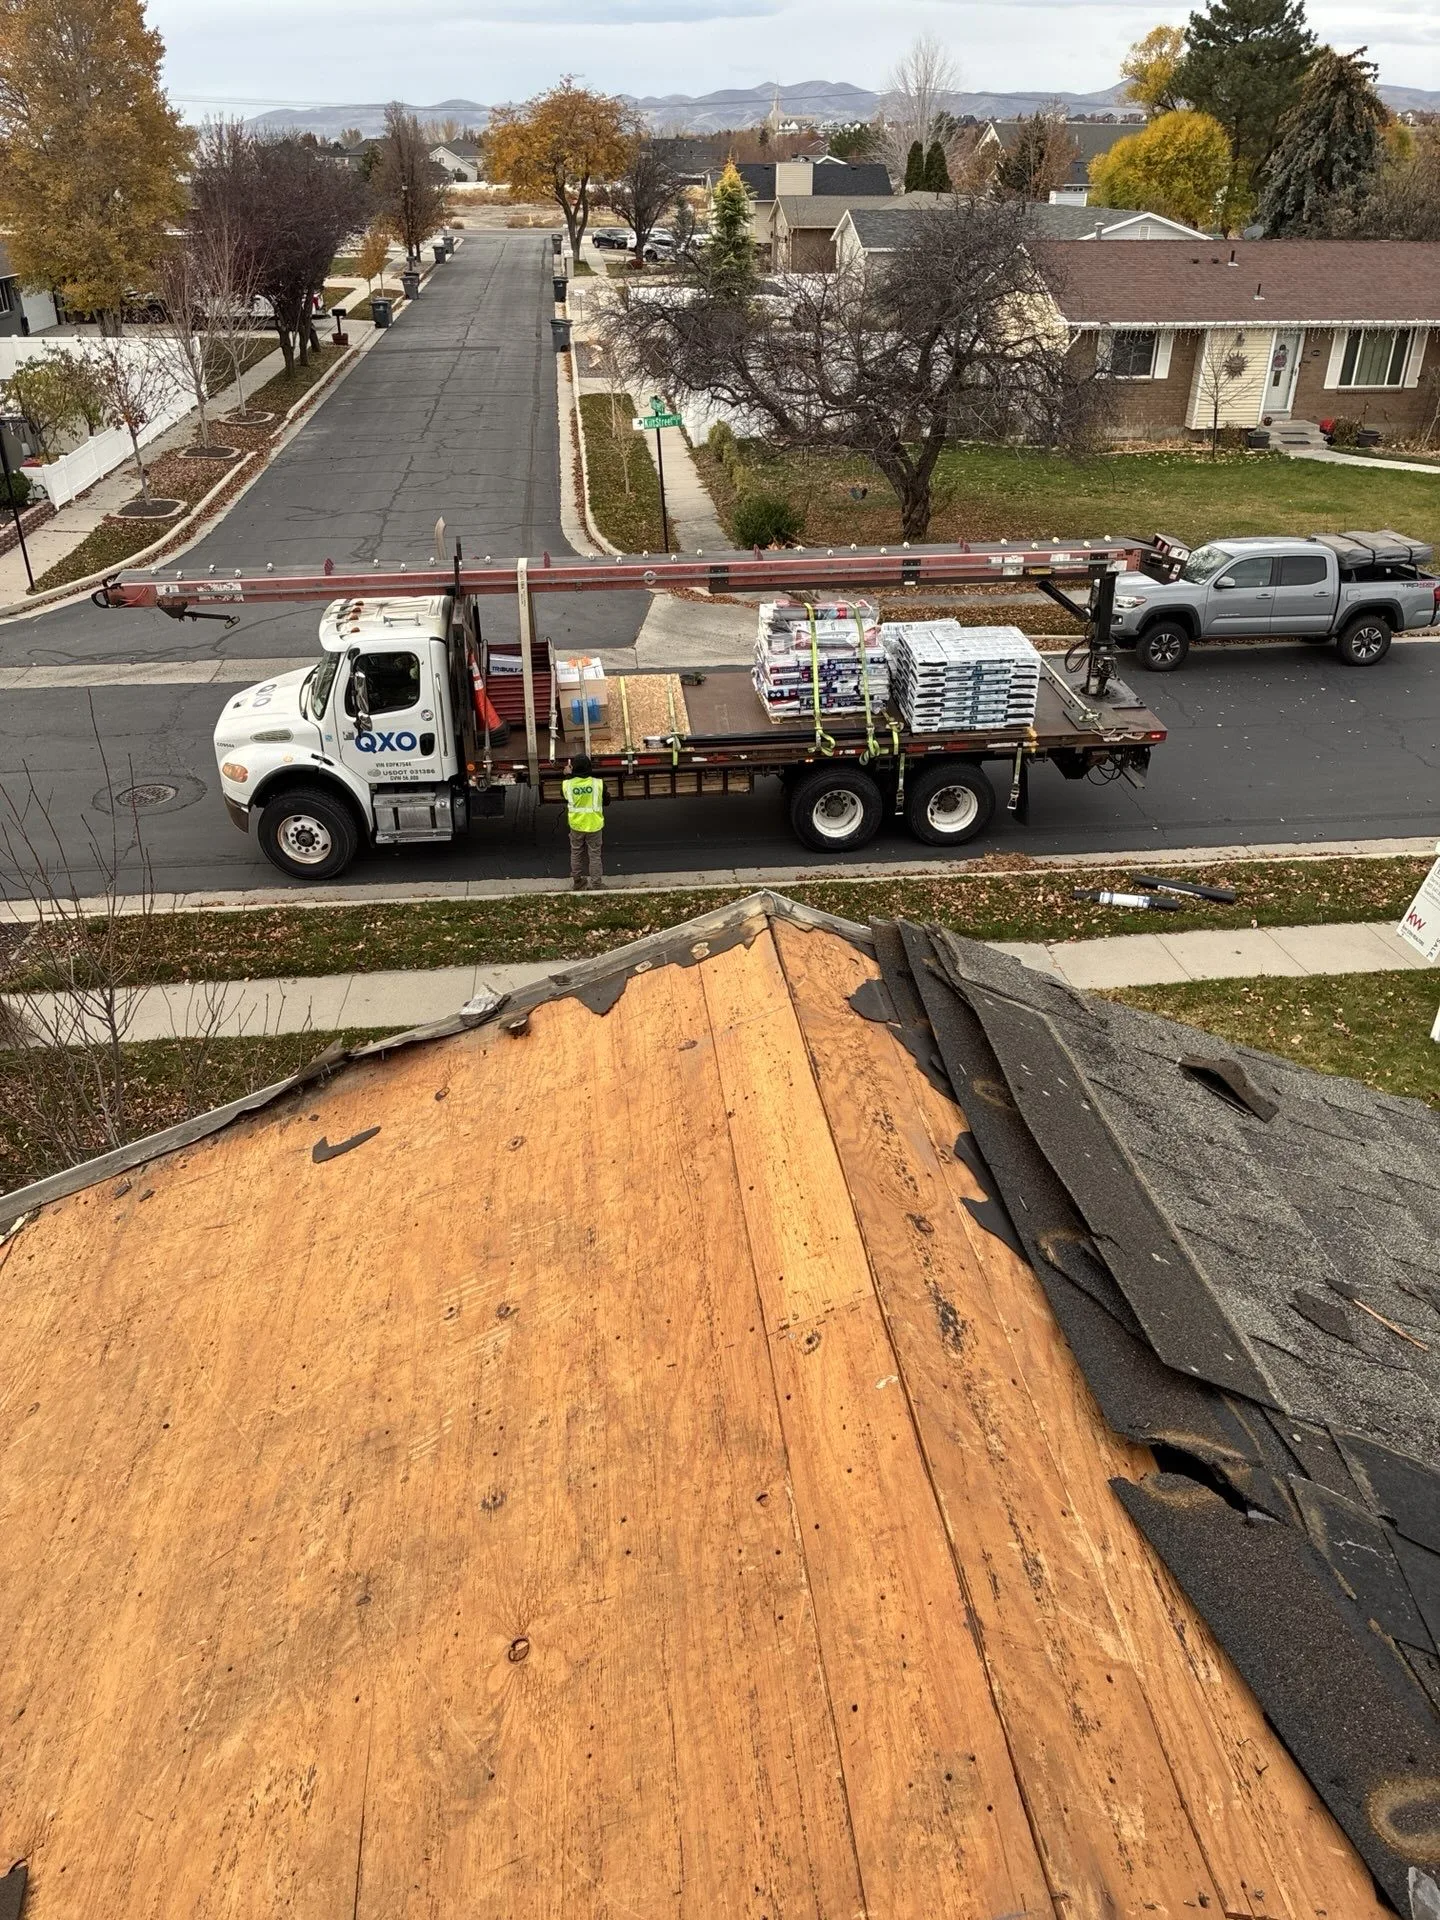
Step 5: Get Emergency Tarping
Professional emergency tarping is the immediate priority for any roof breach. A properly installed emergency tarp prevents further water intrusion while you work through the insurance and repair process, which can take weeks.
Do not attempt DIY tarping on a damaged roof. The surface is compromised and may not support your weight. Professional roofers have safety equipment, know how to secure tarps without causing additional damage, and provide documentation that supports your insurance claim.
Frame Roofing Utah provides emergency tarping across 40+ Utah communities, typically within 24 hours of contact. Call 435-302-4422 for same-day emergency response.
Step 6: Avoid Post-Storm Scams
After every major storm along the Wasatch Front, out-of-state “storm chasers” flood Utah neighborhoods. Some are legitimate; many are not. Protect yourself by verifying any contractor’s Utah DOPL license before signing, never paying more than a standard deposit, never accepting offers to waive your deductible (which is insurance fraud under Utah law), and getting at least one additional estimate.
A legitimate local contractor will have a permanent Utah business address, an active DOPL license, workers’ compensation and general liability insurance, and verifiable local references. Read our complete guide to choosing a Utah roofer for the full checklist.
Step 7: Permanent Repair or Replacement
Once the emergency is stabilized and your insurance claim is filed, work with your contractor to determine whether the roof needs repair or full replacement. Your contractor should provide a detailed scope of work that matches the Xactimate estimate format used by insurance companies, making the approval process smoother.
If the initial insurance estimate doesn’t cover the full scope, your contractor files a supplemental claim with additional documentation. In Utah, 60-70% of storm damage claims require at least one supplement before the full cost is covered.